Picture this: It’s the Friday lunch rush, and you notice your prep cooler is suddenly ten degrees too warm. The potential cost isn't just hundreds in spoiled food; it's the risk of an emergency repair bill that can climb into the thousands, all while your business grinds to a halt. For any restaurant or small business, a failing refrigerator is one of the most stressful and expensive problems you can face.
What if the most damaging issues, including those that lead to preventing commercial fridge compressor failure, could be avoided not by a technician, but by you? Industry data reveals a surprising truth: a vast majority of emergency service calls stem from basic neglect that simple, routine commercial refrigerator maintenance could have easily stopped. The secret to a reliable unit isn't complicated; it's just consistently overlooked.
This guide empowers you to take control with a straightforward restaurant refrigerator maintenance plan—no special tools or technical background required. Follow these simple daily, monthly, and quarterly checks that take just a few minutes but can add years to your equipment's life, slash your energy bills, and give you priceless peace of mind.
Your First Line of Defense: The 2-Minute Daily & Weekly Fridge Checks
Your refrigerator’s door is opened dozens, if not hundreds, of times a day. Making a quick visual scan part of that routine is the easiest way to prevent problems. A daily wipe-down of handles and interior surfaces with a food-safe sanitizer keeps you ahead of health inspections. At the same time, check for minor spills or debris on the floor of the unit. Cleaning these up immediately prevents them from freezing into a bigger, harder-to-remove problem later.
Adding one simple weekly step can dramatically boost your unit’s performance. Look for the small vents or grilles inside the refrigerator compartment; these are the internal airflow vents. Think of them like the air conditioning vents in a car—if they're blocked, the cold air can’t circulate. When staff over-packs shelves or pushes boxes against these vents, it creates warm spots where food can spoil and forces the refrigerator to work much harder, driving up your energy bill.
These quick checks are your first line of defense. By ensuring the unit is clean and that cold air can move freely, you’re already improving efficiency and protecting your inventory. But keeping the cold air circulating properly inside is only half the battle. The other half is making sure it can’t escape.
The Dollar Bill Test: How a Leaky Door Seal Is Secretly Costing You Money
That rubber strip running the perimeter of your refrigerator door is the gasket. Think of it as weather-stripping for your cooler; its only job is to create an airtight seal. When that seal fails, cold air leaks out, forcing your compressor to run constantly. This not only spikes your energy bill but also wears out the most expensive components of your unit much faster, setting you up for a costly breakdown.
You can easily check this with the "dollar bill test." Place a dollar bill halfway across the seal and close the door on it. If you feel a slight drag when you pull the bill out, the seal is good. If it slides out with no resistance, you've found a leak where your profits are escaping. Repeat this test in several spots around the door, especially near the bottom where debris can gather and cause gaps. This is one of the simplest ways of troubleshooting common commercial fridge problems.
To extend the gasket’s life and improve your commercial refrigeration energy efficiency, wipe it down weekly with warm, soapy water. This removes the grease and food debris that make the rubber brittle. If the gasket is visibly torn or cracked, cleaning won't help, and a commercial refrigerator gasket seal replacement is your next step. Of course, a perfect seal is only one piece of the puzzle; you also have to trust the temperature it’s holding inside.
Is Your Fridge Lying to You? Why Accurate Temperature Monitoring is Non-Negotiable
You trust your refrigerator to keep thousands of dollars of inventory safe, but what if its temperature gauge is off by a few degrees? For food safety, anything between 40°F and 140°F is considered the "danger zone," where bacteria can double in as little as 20 minutes. A refrigerator creeping from a safe 38°F to an unsafe 42°F is a silent threat to your inventory and a major red flag for health inspectors. This makes accurate commercial fridge temperature monitoring a critical part of any restaurant refrigerator maintenance checklist.
The problem is, the digital display on your unit isn't always telling the whole truth. It shows the temperature the thermostat is set to, not necessarily the true temperature inside. Over time, sensors can become inaccurate, giving you a false sense of security while your products slowly enter the danger zone. Relying solely on the built-in display is like driving a car without ever checking the tire pressure—eventually, something will go wrong.
To get a real, accurate reading, invest in a simple, calibrated appliance thermometer. Don’t just hang it from a wire rack; for the most reliable measurement, place it in a glass of water on a middle shelf and leave it for several hours or overnight. This shows you the actual temperature of your products, not just the fluctuating air around them. Once you confirm your unit is holding the correct temperature, you can focus on making sure it runs efficiently.
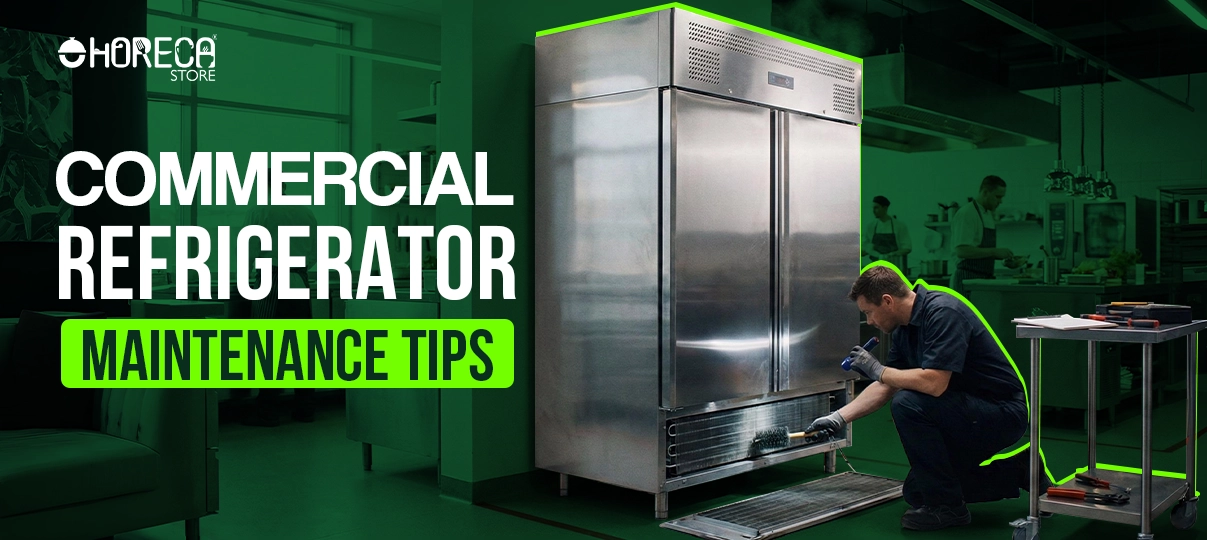
The Most Important 20 Minutes of Maintenance: How to Clean Your Condenser Coils
Believe it or not, one simple task can prevent a huge number of emergency service calls for a refrigerator that has stopped cooling. If your unit has to run constantly just to stay cool, or if the air blowing from it feels unusually hot, the problem isn't inside the box—it's on the outside, where the machine is struggling to breathe.
The culprit is almost always dirty condenser coils. Think of these coils like the radiator on a car; their only job is to release heat from the refrigerator into the room. Usually found behind a grille on the bottom, back, or top of your unit, these coils act as a magnet for dust, grease, and flour. When they get clogged, heat gets trapped. This forces the entire system to work harder, driving up your energy bill and putting immense strain on its most vital components.

Fortunately, cleaning them is straightforward. First and most importantly, unplug the unit from the wall for safety. Next, use a stiff-bristled brush to gently loosen the built-up dust from the delicate metal fins. Follow up with a vacuum hose to suck away all the loosened grime. Performing this simple cleaning every 3 months is the single most effective step you can take to ensure reliability.
This 20-minute task does more than just improve efficiency; it protects the compressor, which is the hard-working heart of your refrigeration system. A compressor that is constantly straining against trapped heat is the leading cause of catastrophic and expensive equipment failure. By keeping the coils clean, you are preventing that failure, significantly lowering your energy costs, and adding years to the life of your equipment.
What Causes a Commercial Refrigerator to Leak Water? (And How to Fix It)
Finding a puddle of water on the floor next to your refrigerator is a worrying sight, but the cause is often a simple clog, not a major failure. Your unit is constantly pulling moisture out of the air, and this water is funneled away through a small tube called a condensate drain line. Think of it as the drain under your kitchen sink, but for your refrigerator's self-defrosting system.
Over time, this line can get clogged with dust and slime, causing water to back up and spill onto your floor. To fix this, locate the end of the drain tube, which usually empties into a small pan at the bottom or back of the unit. Often, a firm puff of air blown into the tube or a quick run-through with a flexible pipe cleaner is all it takes to clear the blockage and solve your leak.
If, however, you see excessive frost or condensation building up inside the refrigerator, especially near the door, the problem isn't the drain. That's a classic sign of a bad door gasket letting in warm, moist air. A puddle on the floor typically points to the drain, but if the water appears oily or is accompanied by strange noises, it’s time to stop troubleshooting and call a technician.
DIY vs. Professional Repair: When to Put Down the Tools and Call a Technician
Knowing how to handle a clogged drain or dirty coils empowers you to solve common issues. However, some problems are not just inconvenient—they’re red flags signaling serious trouble. Attempting to fix major mechanical or electrical issues without certification is dangerous and can turn a manageable repair into a complete unit replacement. Recognizing the boundary between DIY maintenance and a professional service call is the most important skill you can have.
While you should always seek help if basic cleaning doesn’t restore cooling, some symptoms require you to stop troubleshooting and call a certified technician immediately.
Call a Pro Immediately If:
- You hear loud grinding, clanking, or buzzing. These noises often come from the compressor (the “heart” of your unit) and indicate a severe mechanical failure is likely.
- The unit repeatedly trips a circuit breaker. This points to a potentially hazardous electrical fault that needs expert diagnosis.
- You smell a chemical odor or see an oily residue. This is a classic sign of a refrigerant leak—the specialized coolant that makes your unit cold. Only licensed professionals can handle refrigerant.
- The unit doesn’t cool at all after you have already cleaned the coils and checked for airflow obstructions.
When you make the call, telling the service company the unit's make, model, and the exact symptoms you’ve noticed (the sounds, the smells, the lack of cooling) helps them arrive with the right tools and parts. This simple step can significantly speed up the repair, saving you time and money.
Your Action Plan: A Simple Checklist for a Longer-Lasting Refrigerator
You now possess the power to move from reacting to expensive breakdowns to preventing them altogether. Instead of worrying about your equipment, you can be its first line of defense. This simple restaurant refrigerator maintenance checklist is your guide to taking control.
Your Ultimate Maintenance Checklist:
- Daily: Wipe the interior and check for spills.
- Weekly: Check for airflow obstructions and wipe down door gaskets.
- Monthly: Perform the "Dollar Bill Test" on gaskets and verify the temperature with an external thermometer.
- Quarterly (Every 3 Months): Unplug the unit and thoroughly clean the condenser coils.
This commercial freezer preventative maintenance plan takes less than 30 minutes a month, yet it’s the single best investment you can make in your kitchen. You’re not just cleaning a machine; you’re saving thousands in potential repairs, cutting energy costs, and securing priceless peace of mind for your business.