
Ever open a walk-in freezer and get that “something’s not right” feeling? Meat not fully frozen? Veggies looking sad? Stock not cold enough? And somehow it always happens right when the kitchen is at its busiest.
If you’re nodding along, it might be time to give your walk-in freezer a proper check before it surprises you again. A commercial walk-in freezer isn’t just a cold room; it keeps food safe, the kitchen running smoothly, and the team steady.
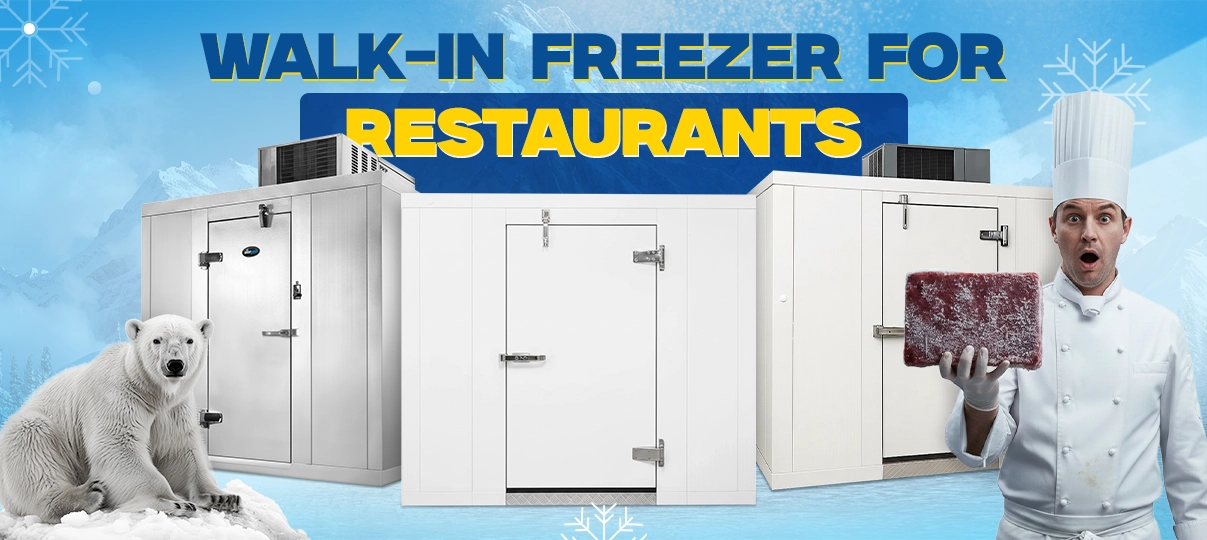
Here’s a guide on what to check, what matters, and how to keep your freezer running efficiently, without adding stress to your day.
Types of Walk-In Freezers
Here are the most common types of commercial walk-in freezers available.
1. Prefabricated Walk-Ins
Looking for something quick and hassle-free?
Prefabricated walk-ins are pretty much the “plug-and-play” option of the cooler world. They’re made from pre-built urethane panels that snap together easily and offer solid insulation, so your food stays at the right walk in freezer temp without you checking it every two minutes.
Because these walk-in coolers come in standard sizes and layouts, choosing one feels almost too easy. No complicated planning, no stress, just pick the size that fits your space, and you’re done.
And here’s the best part: they go up fast. Really fast. The panels fit together smoothly, so your cooler is up and running much sooner than you’d expect.
Growing business? Need more storage later? No problem. You can add panels and expand your walk-in whenever you need to. And if you ever move kitchens or reshuffle your layout, these units can be taken apart, transported, and re-installed without giving you a meltdown.
If you want convenience now and flexibility later, prefabricated walk-ins are the safest bet.
2. Built-In Walk-Ins
If you want a walk-in that feels like it was designed with your restaurant in mind, built-in walk-ins are the way to go. These are constructed directly into your space using insulation tiles on the walls and floors. This gives you better temperature control, more durability, and improved energy efficiency.
The best part? Customization. You decide the size, shape, layout, and even where the door goes. Tight corners? Odd-shaped kitchen? No problem. Built-ins make smart use of every inch. The trade-off: once you build it, it stays. Built-ins are basically permanent. If you plan to move or renovate later, think twice.
If your long-term plan is solid and you want a walk-in that feels like part of your kitchen from day one, a built-in walk-in is a fantastic choice. Just make sure it fits your future as much as your present.
3. Outdoor Walk-Ins
Outdoor walk-in freezers might look similar to indoor ones, but they’re definitely not interchangeable. They need extra protection because they live outside and deal with the weather.
They need a rainproof roof, so water doesn’t sneak inside. This could be something simple like metal flashing over the roof seam or a heavy-duty polyvinyl roof system with connectors and a rain hood over the door.
If you’re in a colder region, you’ll need a winterizing kit. That usually includes a compressor cover and a small heater to warm the walk in freezer compressor oil, so it circulates properly. Without it, your cooler might struggle in low temperatures.
Some people also install an interior heater kit. Why? Because when the outdoor temperature regularly goes below 32°F, your cooler can accidentally freeze your food. The heater keeps everything inside at the right temperature. Outdoor walk-ins work great, as long as you prepare them correctly.
The Core Parts of a Walk-In Freezer
Even a simple walk-in has four essentials: panels, floors, doors, and refrigeration.
1. Panels (the walls that keep the cold in)
These are the walls that keep the cold in.
- Cost vs. Durability: Higher price = longer-lasting, corrosion-resistant panels.
- Budget-Friendly: Aluminum is affordable and resilient.
- Top-Tier: Stainless steel is the best for durability and corrosion resistance.
- Mid-Range: Galvanized, painted, or aluminum-coated steel balances price and performance.
- Embossed Panels: Patterns hide scratches and add strength.
- Insulation: Extruded polystyrene holds insulation longer and resists moisture better than polyurethane.
Knowing your panels helps choose the right balance of cost, durability, and efficiency for a walk-in freezer.
2. Floors
When ordering a walk-in cooler, there’s a choice: get it with a floor or without one. Which makes sense depends on how the unit will be used and the layout of your space.
- Included Flooring: Most come with smooth aluminum floors, perfect for general use. Plus, they’re easier to install than custom floors.
- No Floor: If the walk-in will see heavy carts, shelving, or other frequent weight, a floorless model with a concrete base might be smarter. It can handle heavy loads without damage.
- Insulated Flooring: Planning to place the unit above a basement or in a warm, uninsulated area? Insulated floors keep hot air out, trap the cold inside, reduce compressor strain, and prevent condensation that could damage the box or make it slippery.
Picking the right floor keeps a walk-in cooler safe, efficient, and ready for daily use.
3. Doors
The door is the most-used part of any walk-in cooler. It gets a lot of wear, employees are busy, not always careful.
- Seal Matters: Strong hinges, latches, and gaskets keep the door tight. That saves energy and keeps food at the right temperature.
- Self-Closing Doors: Never worry about leaving it open. Self-closing doors protect the unit, prevent spoilage, and save the refrigeration system from overwork.
- Extra Features: Want a quick peek inside? Some doors have small windows. Need security? Locks are an option.
The right door makes a walk-in cooler easier to use, safer, and more efficient every day.
Useful Extras Parts and Tools
A few simple add-ons make life easier:
- Ramps for rolling carts
- Pressure relief valves (sometimes required by local code)
- Shelving to keep food off the floor
- Thermometers for easy temperature checks
- Non-skid tape to prevent slips
- Strip curtains to keep cold air inside while staff move in and out
Walk-In Cooler Sizes: How to Pick the Right One
Choosing the right size isn’t just about making it “fit.” It’s about being ready for rush hours, busy seasons, and growth.
Here’s the easiest sizing rule ever:
1 cubic foot = about 28 pounds of food
So, if you need to store roughly 1,400 pounds at peak times:
1,400 ÷ 28 ≈ 50 cubic feet
That’s the minimum size you should look at.
A couple more tips:
- Measure your space carefully.
- Leave ventilation space, usually 1" from walls and 2" from the ceiling (check your model).
- When in doubt, size up a little. You’ll be glad you did it later.
Understanding Walk-In Refrigeration Systems
Knowing the right refrigeration system for a walk-in cooler or freezer is key. Think about how much power you need to cool the unit and where the system will go. Facility layout and available space play a big role in your options.
- Typical Power Needs: Walk-in coolers usually need around 1/2 hp compressors, while walk-in freezers often need about 1 hp. The exact size depends on your unit’s dimensions and setup, always check product specs.
- Controls Matter: Whether you prefer digital or dial displays, make sure the controls are easy to reach. If your business follows a HACCP plan, consider systems with temperature monitoring and recording for simple data collection.
Here’s a breakdown of the main refrigeration system types:
1. Remote Refrigeration Systems
- Condensing unit sits outside the building or in a mechanical room.
- Reduces noise and heat inside the kitchen.
- Can lower cooling costs by moving heat outside.
- Less expensive to buy, but must be installed by a qualified technician.
- Charged with refrigerant on-site.
2. Pre-Assembled Remote Refrigeration Systems
- Most parts come pre-assembled for faster setup.
- Reduces installation time and cost.
- Sits outside, pre-charged with refrigerant.
- Must still be installed by a qualified technician.
3. Top Mount Refrigeration Systems
- Unit is mounted on top of the cooler for easy access below.
- Self-contained and fully pre-assembled.
- Evaporator coil may hang inside or sit on top for more interior space.
- Discharges heat indoors, which can strain HVAC.
- Installation by a qualified technician is required.
4. Side Mount Refrigeration Systems
- Mounts to a side panel using bolts or brackets, flexible for tight spaces.
- Similar to top mount but may reduce interior shelf space.
- Great for rooms with low ceilings.
- Must be installed by a qualified technician.
- Understanding your options helps pick the right system for efficiency, space, and cost.
What Temperature Should Walk-in Freezers Be?
Walk-in freezers usually stay around 0°F. This keeps food frozen solid, blocks bacteria growth, and preserves quality. Freezer panels are thicker than cooler panels for a reason; they provide better insulation, reduce heat transfer, and help the unit maintain cold efficiently. That means lower energy use and more consistent performance.
The refrigeration systems in freezers are bigger and more powerful than in coolers. Why? To maintain that freezing temperature even when the unit is opened often or large amounts of warm food are added. This ensures the freezer keeps everything at the right temperature, all the time.
Cleaning & Maintaining Your Walk-In Freezer
If you want your walk-in to last, maintenance isn’t optional.
Here’s the routine:
- Use reliable cleaners like bleach or Arctic Kleen.
- Check hinges, latches, gaskets, and replace them if they look tired.
- Clean condenser coils! Dirty coils = higher bills + stressed compressor.
- Wipe down walls, floors, and ceilings to avoid mildew.
- Skip harsh chemicals and pressure washers; they damage panels.
Pro move: Add strip doors + non-skid tape → cheap upgrades, big impact.
Saving Energy (and Money)
A few small adjustments make a big difference:
- Use insulated floors and thermal barriers
- Make sure your panels are sealed properly
- Don’t block vents with shelving
- Switch to LED lighting inside your walk in freezer unit.
Warranties & Knowing When to Replace
Before you buy:
- How long are panels covered?
- How long is the refrigeration system covered?
- Are there installation rules tied to the warranty?
Most walk-ins last around 15 years.
But if you’re seeing frost buildup, struggling temps, or worn panels, it might be time to upgrade sooner.
Final Thoughts
Your walk-in freezer isn’t just another kitchen appliance, it basically holds your whole operation together. Get the right size, choose the right walk-in freezer compressor, and keep it maintained, and it’ll save you time, money, and a lot of stress.