
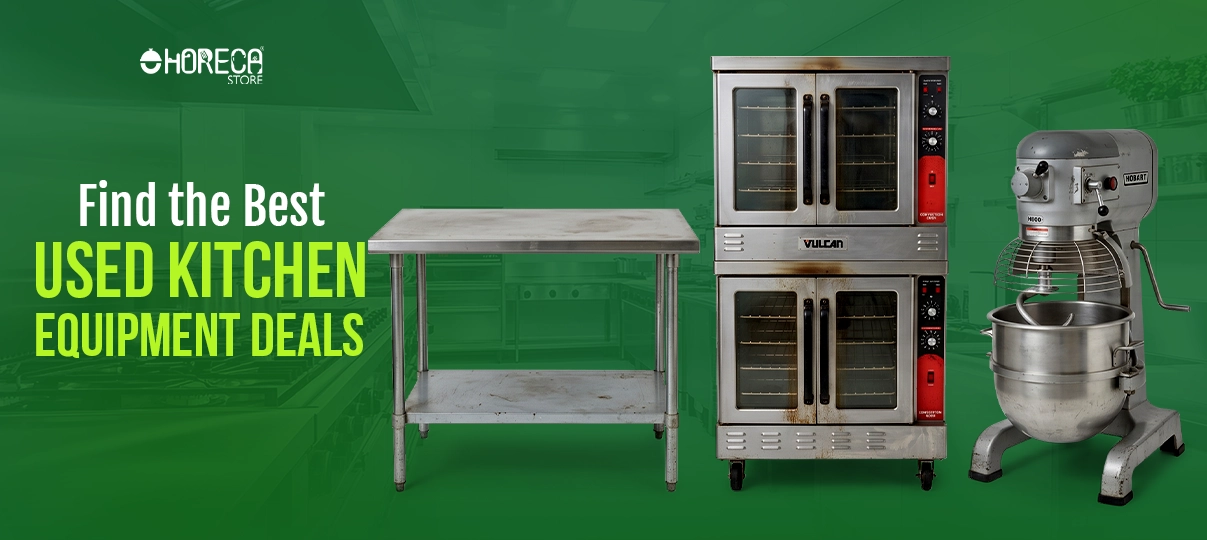
We’ve all stared longingly at a $3,000 professional espresso machine before walking away empty-handed. But what if that exact model was sitting in a warehouse for just $400 because of a tiny cosmetic scratch? Plunging into the market for used kitchen equipment often feels like an unpredictable gamble for most home cooks.
Is that massive stainless-steel refrigerator a brilliant bargain, or just a heavy piece of scrap metal waiting to break? Industry data reveals a staggering longevity gap between residential and industrial builds. Heavy-duty commercial fridges are engineered to survive twenty years of constant abuse, whereas standard home versions typically start failing after only seven. This durability difference creates a powerful buying strategy known as the "Depreciation Win." Much like a brand-new car, professional culinary gear loses a massive percentage of its retail value the second it gets unboxed. Commercial machines depreciate significantly faster than their mechanical parts actually wear out, unlocking the incredible cost savings of buying pre-owned versus new.
Snagging these affordable kitchen appliances still requires a bit of straightforward math before you hand over any cash. Savvy buyers always calculate the total cost of ownership rather than just glancing at the sticker price. By adding the initial purchase cost, required replacement parts, and deep cleaning supplies together, you discover the true value of your new culinary workhorse.
Decoding the Label: What 'Refurbished' and 'NSF' Really Mean for Your Kitchen
Staring at a commercial mixer, you might spot a blue "NSF" sticker and wonder if it matters.
National Sanitation Foundation (NSF) certification simply means the machine is easily sanitized. While NSF standards for resold food service supplies aren't legally required at home, that blue circle proves heavy-duty build quality, guaranteeing food-grade metals and no hidden bacteria crevices.
Confusing labels can derail your budget during kitchen equipment resale. You must distinguish between harmless cosmetic wear—like a scuffed phone case—and mechanical gambles. Here is how shops classify refurbished kitchen items:
- As-Is: The Wild West. It plugs in; nothing else is guaranteed.
- Reconditioned: Repaired by a seller. Great value, but relies on their personal skill.
- Certified Refurbished: Rebuilt to factory standards, usually including a warranty. The secret to buying smart is matching the right tier to your wallet. Armed with this vocabulary, you can confidently avoid expensive traps.
Scouting the Best Deals: From Restaurant Liquidations to Local Auctions
Scoring a fantastic bargain takes more than casually scrolling social media. When a restaurant closes, it often undergoes an asset liquidation—a forced sale where everything from heavy-duty stand mixers to prep tables is priced to move quickly to pay off debts. Navigating restaurant liquidations and auction sites is where the true bargains hide, allowing you to bypass typical retail markups entirely.
Your secret weapon is knowing exactly where to hunt. Focus your search on these top four sources for used gear:
- Liquidations: Direct sales from closing businesses offering rock-bottom prices.
- Auctions: Bidding events, but always calculate the "buyer's premium"—an extra fee (usually 10% to 18%) added to your winning bid.
- Local Dealers: Brick-and-mortar stores that inspect and clean items.
- Specialty Resellers: Dedicated businesses selling certified refurbished catering tools. Physical storefronts provide a safety net that anonymous online marketplaces simply cannot match. Searching local commercial kitchen suppliers lets you personally test knobs and check rubber seals. Relying on established hubs, like reputable dealers of used commercial kitchen equipment in Indianapolis, guarantees someone stands behind your purchase if things go wrong.
The 'Wall Plug Rule': Avoiding Costly Electrical Mismatches in Prosumer Gear
Snagging a gorgeous piece of used stainless steel kitchen equipment feels incredible until you realize it doesn't fit your wall outlet. Commercial machines demand significantly more "juice" than standard residential homes provide. Think of electricity like plumbing: voltage is the water pressure, and amperage is the size of the pipe. A professional oven requires high levels of both to run correctly, meaning a regular kitchen outlet simply will not work.
You can spot these high-power needs by checking the cord for NEMA plug types, which feature uniquely angled metal prongs. Never force these heavy-duty commercial plugs into standard sockets, because mismatched voltage instantly creates an electrical fire hazard. Upgrading your home's wiring to match these plugs often becomes one of the worst hidden costs of transporting heavy kitchen hardware indoors.
Always read the machine's metal specification plate to verify its exact power needs before handing over your cash. You must also consider the energy efficiency ratings of older cooking models while checking these electrical specs. A cheap vintage oven might dramatically inflate your utility bills.
The Gasket Test: Ensuring Your Second-Hand Fridge Doesn't Kill Your Electric Bill
Scoring a $200 refrigerator seems like a win until your utility bill arrives. Think of a fridge like a plastic food container; if a Tupperware lid doesn't click shut, food spoils. Similarly, when the rubber door seal (gasket) hardens, cold air leaks constantly. This forces the machine to work overtime, turning an affordable find into an energy vampire costing $500 yearly to run.
Before browsing for refrigeration units, you must know how to inspect them properly. The secret involves your ears and a dollar bill. First, listen to the compressor cycle—the motor keeping things cold. A healthy compressor hums, but a loud "knocking" sound signals imminent failure.
To ensure your used stainless steel kitchen equipment is a true bargain, follow this checklist:
- Plug the unit in and listen for knocking.
- Wait ten minutes to feel for cold air.
- Inspect the rubber gasket for visible cracks.
- Close the door on a crisp dollar bill.
- Pull the bill; zero resistance means a dead seal.
Evaluating Pre-Owned Ovens and Fryers: Why the Pilot Light Tells a Story
Shifting from cold to hot equipment brings a new set of risks. When inspecting refurbished commercial ovens and ranges, ignore the shiny exterior and check the pilot light assembly—the small, constant flame that ignites the main gas burners. Neglected ovens often suffer from carbonization, which is simply a rock-hard layer of burnt-on grease. If this black crust clogs the burner holes, gas flows unevenly, creating frustrating cold spots and wasting fuel.
Beyond surface dirt, you must inspect the internal metal to guarantee daily safety. An oven's heat exchanger—the hidden tubes responsible for transferring heat from the flame into the baking cavity—cannot have any cracks, as even a hairline fracture can leak dangerous combustion gases into your kitchen. By rescuing a structurally sound unit, you also maximize the positive environmental impact of reusing professional kitchenware, keeping perfectly good steel out of the scrapyard.
Deep fryers demand an entirely different inspection, focusing primarily on the main oil vat. When evaluating the lifespan of second-hand fryers, run your hand along the interior walls to feel for rust or physical pitting. While a darkened metal "seasoning" from old oil actually protects the steel, deep corrosion guarantees the vat will eventually leak scalding grease.
Identifying Hidden Gear Stress in Industrial Mixers Before You Buy
Scoring a stand mixer among discount kitchen supplies feels victorious, but a missing bowl makes it useless. Never buy a mixer without its original bowl. They rely on a "planetary drive"—a mechanism spinning the attachment while circling the bowl's edge. Clearances are incredibly exact, and replacing parts for discontinued food prep machines often costs more than the mixer itself.
Powering the equipment exposes its internal health, specifically gear stripping. This occurs when internal metal teeth wear down and slip, failing to grip under heavy loads. Identifying signs of excessive wear in industrial mixers requires spotting these signs of motor stress in planetary mixers:
- Sounds: Rhythmic grinding or clicking noises indicate failing gears.
- Leaks: Amber oil dripping down the mixing shaft means blown seals.
- Smells: A sharp metallic burning odor signals electrical burnout.
Push firmly against the top metal casing to check for cracked motor mounts, as high-speed dough vibrations will eventually tear a fractured frame apart. If the unit runs smoothly and stays dry, you have found a reliable workhorse.
Negotiation and Warranties: How to Secure a Protection Plan for Reconditioned Tools
Finding a flaw during your inspection isn't a deal-breaker; it’s your best leverage for negotiating prices at restaurant equipment sales. Most pre-owned gear is sold "as-is," meaning the seller's liability ends the moment you load it into your car. If you spot a cracked fridge seal, simply price out the replacement part online and subtract that exact cost from their asking price.
Before agreeing to an adjusted rate, protect your investment by asking these four questions:
- Are you the original owner, or was this bought second-hand?
- Can you plug it in and run it under load right now?
- Do you offer a short-term return window if it fails at home?
- Do you know of community hubs where culinary tools are traded locally?
Even with a great discount, you shouldn't rely on luck alone. Explore third-party warranty options for reconditioned professional appliances, which act like extended car insurance for your heavy-duty gear. A $50 annual plan on a $400 mixer pays for itself instantly if a component fails, giving you total peace of mind.
The 4-Step Maintenance Routine to Double the Life of Legacy Appliances
Unlike standard home models, refurbished kitchen items from commercial settings are built to run continuously, trapping grease and dust much faster. Think of it like a high-performance car; you wouldn't skip oil changes and expect top speeds. Preventive maintenance—cleaning and checking parts before they break—is the simple secret to making your heavy-duty investment last a lifetime.
To prevent mechanical burnout, adopt this essential maintenance checklist for legacy
appliances into your regular routine:
- Scrub air filters: Blocked airflow forces motors to work overtime and overheat.
- Inspect gaskets: Soft seals keep cold air in; cracked ones waste electricity.
- Lubricate moving parts: Apply food-safe grease to exposed gears.
- Descale water lines: Mineral buildup destroys internal heating elements.
Eventually, a belt will snap, but sourcing parts for older units shouldn't empty your wallet. Contact local liquidators; they often salvage perfectly good components from broken machines for a fraction of the retail price.
Your 30-Day Roadmap to Outfitting a Pro-Level Kitchen on a Budget
You no longer need to stare at expensive ovens wondering if they are out of reach. By applying the Total Cost of Ownership model, you can confidently evaluate used kitchen equipment based on its true value, factoring in minor repairs and lifespan rather than just the initial sticker price.
Shift your mindset toward depreciation, visually inspect the exterior for wear, and physically test those essential rubber seals. Soon, you will easily navigate the transport logistics to cook your very first meal on reliable, professional-grade gear.
When your culinary skills eventually outgrow your current setup, you can maximize your financial return. Plan to sell commercial equipment while it still runs perfectly, rather than waiting for a breakdown. Knowing where to trade locally ensures another aspiring chef benefits from your well-maintained gear.
Rescuing these machines does more than save cash; it actively keeps massive metal appliances out of local landfills. By applying these proactive inspection techniques, you can secure incredible bargains while building a highly capable, sustainable kitchen.