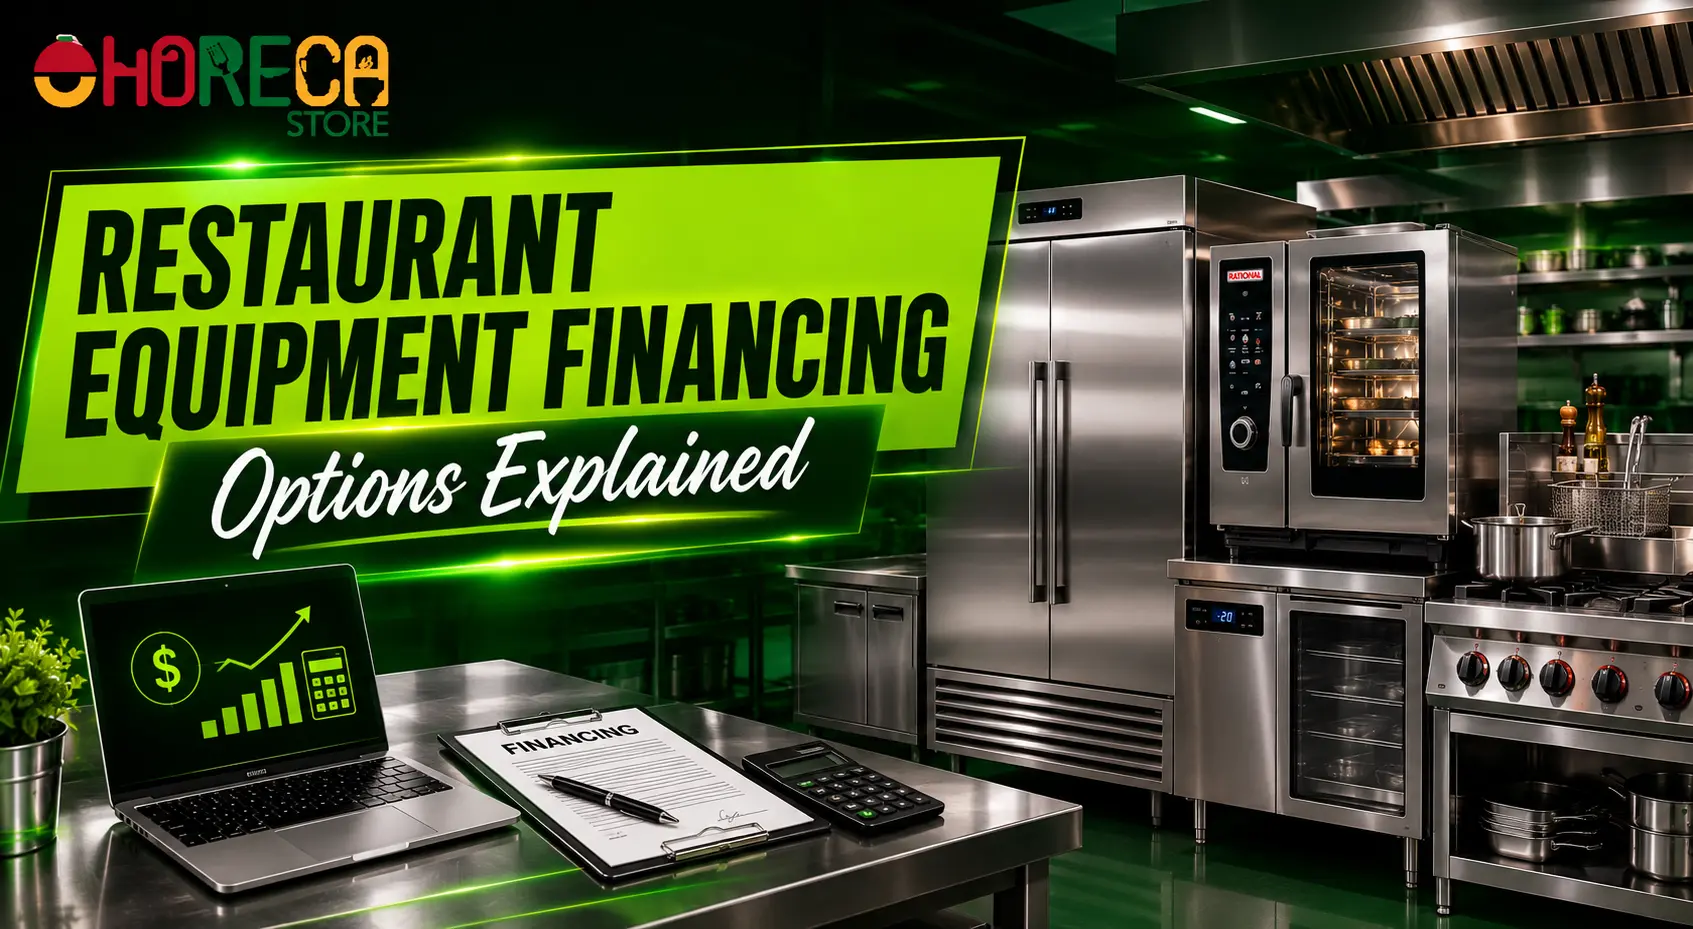
5 Key Factors to Consider in Reach-In Refrigerator vs Prep Table Refrigerator
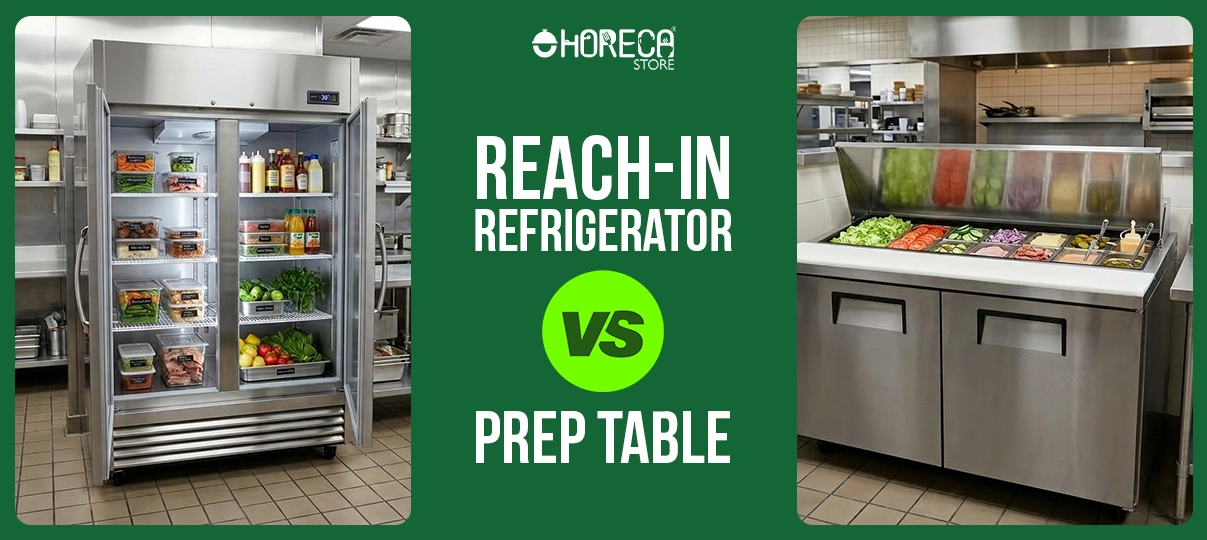
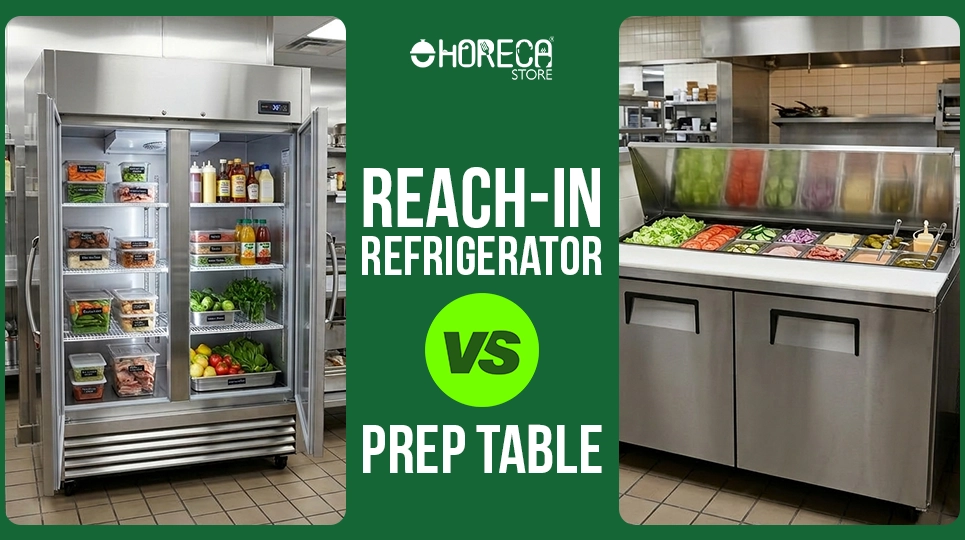
Table of Contents
Imagine it is the peak of the Friday night rush, and you realize halfway through a sandwich order that the sliced tomatoes are sitting in the main cooler across the room. Every second spent walking is a second your customer spends waiting, turning a simple task into a bottleneck. This common scenario highlights why choosing between a reach-in refrigerator vs prep table refrigerator is about more than just keeping food cold; it is about defining how your kitchen moves. While a reach-in acts as a "sealed box" designed for temperature stability, a prep table functions as a workbench with a "curtain of cold," keeping ingredients safe during active assembly.
Misunderstanding this fundamental distinction between storage and assembly often leads to overcrowded workstations or spoiled inventory, as different food storage solutions are required for different stages of the cooking process. Selecting the wrong unit for your specific footprint can lead to costly energy bills and inefficient workflows. In many small kitchens, every square foot equates to revenue potential, making smart commercial refrigeration space saving solutions vital for profitability. Experienced restaurateurs know that simply fitting a unit through the door isn't enough; it must match the daily demands of your menu. To ensure your investment supports both your budget and your health inspection compliance, five critical factors determine which refrigeration style belongs on your line.
Bulk Storage vs. Active Assembly: Which Unit Wins the ‘Line Speed’ Battle?
Speed is the currency of any commercial kitchen, and your choice of equipment directly influences your "Ticket Time"—the average minutes it takes to turn an order into a meal. When you are evaluating the best refrigeration for high-volume food prep, you aren't just buying cold air; you are buying workflow. A reach-in unit acts like a warehouse, prioritizing sheer volume and holding temperature for long periods. A prep table, however, functions as an assembly line, sacrificing total volume to put ingredients strictly where the action is.

Think of the difference using a standard grocery bag analogy. A typical two-section reach-in might hold the equivalent of 40 bags of groceries, keeping them preserved deep in the back of the kitchen. While refrigerated prep table storage capacity is significantly lower—holding perhaps 10 to 15 bags—it keeps that food within arm’s length of the chef. This distinction defines the "10-Step Rule." If your cook has to take more than ten steps round-trip to retrieve a core ingredient during a rush, your layout is actively stealing profit through wasted motion.
Diagnose your current setup by running this simple Service Speed Test during your next peak hour:
- Watch the Feet: Pick one station (e.g., the sandwich artist). If they move their feet to grab ingredients more often than they stand still assembling, you need a prep table.
- Count the Door Swings: If a reach-in door is opened and closed more than 10 times in 15 minutes, you are stressing the compressor and risking unsafe temperatures.
- Measure the Handoff: Time how long a plate sits waiting for a garnish. If the garnish is in a reach-in across the room, that delay is a signal to switch unit types.
While professional grade food storage solutions like reach-ins are essential for bulk inventory, they cannot compete with the active assembly speed of a prep table. A prep table is effectively a workbench with a built-in cooler, whereas a reach-in is a secure vault. However, gaining that speed often means occupying more horizontal floor space. Once you have decided between speed and volume, you must figure out if the unit will actually fit your kitchen’s layout without causing a traffic jam.
While professional grade food storage solutions like reach-ins are essential for bulk inventory, they cannot compete with the active assembly speed of a prep table. A prep table is effectively a workbench with a built-in cooler, whereas a reach-in is a secure vault. However, gaining that speed often means occupying more horizontal floor space. Once you have decided between speed and volume, you must figure out if the unit will actually fit your kitchen’s layout without causing a traffic jam.
Vertical Height vs. Horizontal Footprint: Planning Your Kitchen’s Real Estate
Rent is likely one of your biggest fixed costs, meaning every square foot of your kitchen must earn its keep. View the reach-in refrigerator as the "skyscraper" of your kitchen city. It maximizes vertical density by stacking ingredients floor-to-ceiling, offering the highest storage volume per square foot of floor space. This makes the reach-in the superior choice for tight corners where you need to house bulk ingredients without eating into your walkable floor area.
Conversely, a prep table functions like a sprawling ranch house; it demands significant horizontal real estate but pays you back with a dual-purpose design. By sacrificing floor space, you gain a stainless steel worktop that eliminates the need for separate cutting boards or tables. When choosing the right kitchen refrigeration footprint, consider if your kitchen is currently starving for countertop space. If your chefs are fighting for elbow room to chop vegetables, the wider footprint of a horizontal unit creates a valuable production station that justifies the loss of walkway width.

Beyond the static dimensions of the unit, you must account for the invisible "kill zone" created by the door swing radius. In a narrow galley kitchen, a full-sized reach-in door can block the entire aisle when opened, creating a traffic jam that halts service every time a cook grabs the milk. This creates a disrupted "flow zone" where staff are constantly dodging moving parts. In these tight scenarios, prep tables often win because they utilize smaller doors or drawers that require less clearance, keeping the main traffic artery open even during restocking.
Ultimately, effective commercial refrigeration space saving solutions are about matching the unit's physical behavior to your staff's movement patterns. If you have high ceilings and narrow aisles, build up; if you are short on counters, build out. Once you have determined which unit physically fits your layout.
The 'Cold Blanket' vs. The 'Sealed Box': Mastering Temperature Safety
Health inspectors generally prioritize one metric above all others: are your potentially hazardous ingredients sitting in the "danger zone" above 40°F? Selecting the right refrigeration unit means choosing between two different defense strategies against heat. A standard reach-in refrigerator operates as a "Sealed Box." It relies on thick insulation and a closed door to trap cold air inside, much like a cooler you would take camping. Because the system assumes the door will remain closed most of the time, the compressor can take breaks, making it highly efficient for bulk storage where temperature stability is guaranteed.
In contrast, a sandwich or pizza prep table faces a much tougher challenge because its "lid" is often left open during service, exposing ingredients directly to the hot kitchen air. To combat this, these units utilize "Cold Blanket" technology (forced-air curtain). Fans blow a continuous stream of chilled air across the top of the food pans, creating an invisible shield that separates your cheese and lettuce from the 90°F ambient temperature of the cookline. This is why NSF standards for commercial food prep (specifically NSF-7) are so rigorous; they require these units to maintain safe temperatures even while the top is open for hours at a time.
Because this "Cold Blanket" is invisible, it is surprisingly easy to disrupt, which can lead to rapid spoilage and a failed health inspection. Maintaining food safety holding temperatures on a prep table requires strict discipline from your staff to ensure the air curtain remains unbroken:
- Respect the Load Line: Never pile ingredients higher than the small indentation inside the metal pan, or the food will poke through the cold air blanket into the hot room air.
- Keep Vents Clear: Do not place cutting boards or towel stacks over the internal air vents, as this chokes the airflow needed to create the protective curtain.
- Close the Lid During Lulls: While NSF-7 units are rated to stay open, closing the lid during slow periods saves energy and recovers safe temperatures faster.
- Pan Configuration: Ensure all slots are filled with pans (even empty ones); leaving a gap allows cold air to escape into the room rather than flowing over the ingredients.
While the prep table offers unmatched speed for assembly, its reliance on this delicate air curtain means the engine works much harder than a standard fridge. This constant battle against heat puts significant strain on the mechanical components.
The Hidden Costs of Cooling: Why Door Habits and Compressor Placement Matter
Selecting a refrigerator often starts with size, but the position of the compressor—the engine that powers the cooling cycle—is what determines how long the unit survives in your specific kitchen environment. Manufacturers place this heavy machinery either on top of the unit or at the bottom, and the right choice depends entirely on what is floating in your air. A bottom-mount compressor runs cooler because heat naturally rises, meaning the engine isn't sucking in the hot air accumulating near the ceiling. However, because it sits near the floor, it acts remarkably like a vacuum cleaner, pulling in every stray dust bunny, spilled flour cloud, and grease droplet that lands near the kickplate.

Ignoring the environment where the machine lives is the fastest way to kill a motor, regardless of brand quality. In a bakery heavy with flour or a grill line thick with grease, a bottom-mount unit will clog its intake coils rapidly, forcing the system to work overtime just to breathe. This strain drives up electricity bills and leads to premature failure, whereas a top-mount system stays cleaner longer by sitting above the mess. While top-mount units are generally more expensive to repair due to difficult access for technicians, they are often the smarter play for kitchens with heavy airborne debris.
Beyond the engine, your daily workflow habits and the physical integrity of the unit play a massive role in monthly utility costs. A frequently overlooked energy efficient commercial cooling option is simply ensuring the cold air stays inside, which is why gasket maintenance and hinge quality are paramount. Over time, the magnetic rubber seal around the door creates gaps, leaking expensive chilled air 24 hours a day. This is where the benefits of self-closing doors prove their worth; they automatically correct for a busy cook who might nudge a door shut with an elbow but fail to latch it completely. Furthermore, prioritizing stainless steel commercial refrigerator durability ensures the door remains warp-free and properly aligned despite thousands of aggressive openings and closings.
Buying a commercial unit is less like purchasing a storage cabinet and more like hiring a new employee; you have to consider not just the salary (upfront price) but the ongoing cost of their performance. If you choose a unit that fights against your kitchen’s natural environment or fails to compensate for human error, you will pay for that mistake in higher utility bills and emergency repair fees every month.
The Professional Kitchen Audit: Creating Your Refrigeration Roadmap
Moving past viewing these units as simple cold storage allows you to look at your floor plan and identify exactly where a bottleneck might happen before it costs you a sale. Whether you need the bulk capacity of a reach-in to hold inventory or the assembly-line speed of a prep table to crush the Friday rush, you now have the knowledge to make an investment that protects your ingredients and accelerates your service.
To finalize your choice, perform a simple "Touch-Point Audit" during your next shift. Watch a single key ingredient, like cheese or tomatoes, and count how many times it is handled. If your staff has to walk across the room to grab it five times an hour, you are losing money on labor. Optimizing commercial kitchen workflow layout is about minimizing movement so your team can focus on cooking rather than fetching.
Use the following decision matrix to determine how to select the right refrigeration unit for your specific operation:
- Frequency: Do you need to access these ingredients once per shift (Reach-In) or once per minute (Prep Table)?
- Space: Does your aisle allow for a full door swing, or do you need a compact footprint that keeps traffic moving?
- Menu: Is your menu fixed, or do you need the flexibility to change pan configurations as your offerings evolve?
- Environment: Will the unit sit near hot equipment like ovens, requiring a more robust compressor location?
Choosing the right commercial refrigeration is ultimately a balance of speed, space, and safety. Once your new unit arrives, implement a 30-day maintenance routine—specifically cleaning the condenser coil and checking gaskets weekly—to ensure it runs efficiently for years. By matching the machine to the menu, you turn a major expense into your kitchen’s most reliable partner, ensuring both your health inspector and your customers leave satisfied.

About Mike Anderson
Commercial Refrigeration & HORECA Industry Expert
The author is a seasoned specialist in commercial refrigeration systems, sharing practical insights to help hospitality businesses select the right equipment for efficiency, food safety, and long-term cost savings. With over 15 years of industry experience, he stays updated on global trends in energy-efficient and sustainable cooling solutions.
Frequently Asked Questions
The main difference is that a reach-in refrigerator is designed for storage, while a prep table refrigerator combines storage with a food preparation surface. Both maintain temperatures between 33°F and 40°F per FDA guidelines, but prep tables include ingredient pans and worktops, making them ideal for assembly tasks in restaurant kitchens.
A reach-in refrigerator is used for bulk storage of perishable items in restaurant kitchens. These units typically offer 20–70 cubic feet of storage capacity and allow easy access to ingredients. They are commonly used in back-of-house operations where organized storage and temperature consistency are critical.
A prep table refrigerator is designed for food preparation and ingredient storage in one unit. It maintains ingredients at 33°F to 40°F while providing a work surface and pan storage for quick assembly. These units are widely used in pizzerias, sandwich shops, and fast-service restaurants.
Prep table refrigerators are generally more space-efficient because they combine storage and workspace in one unit, reducing the need for separate prep stations. Reach-in refrigerators require additional workspace but offer larger storage capacity, making them suitable for kitchens with more available space.
Reach-in refrigerators typically offer 20–70 cubic feet of storage, while prep table refrigerators provide less internal storage due to the inclusion of work surfaces and ingredient pans. Prep tables focus on accessibility and workflow rather than maximum storage capacity.
Both reach-in and prep table refrigerators should have NSF certification for sanitation, UL certification for safety, and ENERGY STAR certification for efficiency. NSF certification ensures compliance with hygiene standards required in foodservice environments, while ENERGY STAR indicates reduced energy consumption.
Reach-in refrigerators typically consume 3–6 kWh per day, while prep table refrigerators may use 4–8 kWh per day due to frequent door openings and additional components like pan cooling systems. ENERGY STAR-certified models can reduce energy usage by 10–20%.
High-volume operations often use both types together, but reach-in refrigerators are better for large-scale storage, while prep tables are ideal for fast-paced food preparation. Combining both improves workflow efficiency and ensures consistent access to ingredients during peak service.
Both types typically last 10 to 15 years with proper maintenance and regular cleaning. Lifespan depends on usage, build quality, and environmental conditions. Cleaning condenser coils every 3–6 months helps maintain efficiency and extend equipment life.
Choosing between the two depends on kitchen workflow, available space, and operational needs. Reach-in refrigerators are best for bulk storage, while prep tables are ideal for food assembly. Businesses should select units that maintain 33°F to 40°F, meet NSF standards, and support efficient kitchen operations.
Comments
0 comments
Login to Comment
Join the conversation! Please log in to share your thoughts.
No comments yet
Be the first to share your thoughts!